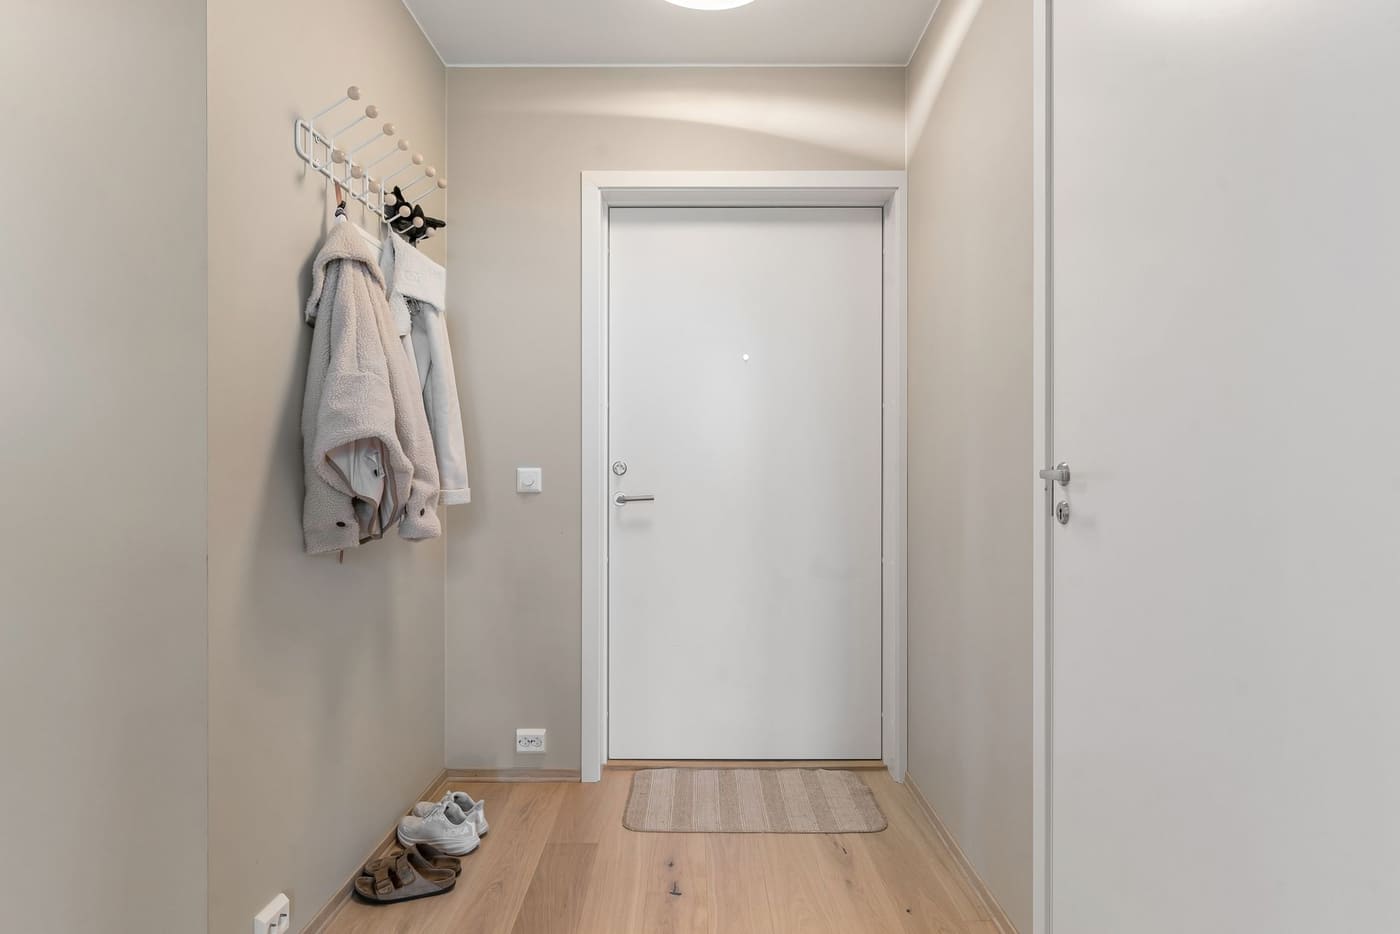
Renters should fix the arrival routine first: a place to hang coats and bags, a place for shoes, and a landing spot for keys and mail. Those three things stop the daily pile-up and can be done with removable or freestanding products. Lighting, a rug and decor come next, and only then anything that needs landlord approval.
Many renters start with decor because it feels like the way to make a rental feel like home. But an entry that looks nice and still has a pile of shoes on the floor will frustrate you every day. Fixing function first gives the biggest daily payoff for the lowest cost, and most of it moves with you when you leave. Here is a practical order of operations, with budgets and limits.
Step one: check the lease and document the space
Before you buy or install anything, read the lease for rules about nails, screws, adhesives and paint. Take dated photos of the walls, floor, door and fixtures. If you plan to drill or paint, ask for written permission. Many landlords allow small nail holes for hanging, since they are easy to patch, but rules vary by state, city and building.
Also check what the entry already has: a closet, a coat rack, an outlet, a light switch, and a floor type. Note any problems you should report instead of fixing, such as a loose handrail, a broken light, a sticking door or water stains. Those are typically the landlord’s responsibility (the details depend on local law and your lease), and reporting them in writing protects you.
Step two: give coats and bags a home
The first fix is hooks, because coats and bags that have nowhere to go end up on chairs and floors. The right solution depends on what the lease allows and how much weight you need to hold.
| Option | Holds roughly | Damage risk | Best for |
|---|---|---|---|
| Over-the-door hooks | 5 to 15 lbs each | None to low | Light coats, bags |
| Adhesive hooks | per package rating | Low, may lift paint | Keys, scarves |
| Freestanding rack | varies | None | Rooms with floor space |
| Screwed-in rail | heavy loads | Small holes | Winter coats, backpacks |
Mount hooks around 66 to 72 inches (167 to 183 cm) high for adult coats, and lower for children. Space them 6 to 8 inches (15 to 20 cm) apart. If you use adhesive, clean the wall with rubbing alcohol first, press for the time stated on the package, and wait before loading. Wet winter coats are heavy, so choose a rated product or screws if allowed.
Step three: tame the shoes
Shoes are usually the next biggest mess. A freestanding rack, a tilting cabinet or a bench with open shelves needs no drilling. Add a boot tray, about 1 inch deep, to catch water and mud.
Keep only the pairs worn this week by the door, typically two or three per person. The rest can go in a closet. For a closer look at formats and sizes, see what shoe storage actually keeps an entryway tidy. Use felt or rubber feet to protect floors, and anchor tall cabinets if the lease and wall allow it, since tipping is a real risk with children or pets.
Step four: set up a landing spot for small items
Keys, wallet, sunglasses and mail scatter without a home. A small tray, a wall pocket or a shallow dish on a shelf is enough. A plain tray roughly 8 by 10 inches (20 by 25 cm) takes seconds to use. Add a slim mail sorter or a small recycling bin by the door so junk mail does not accumulate.
This step has a large effect on mornings. When keys have a spot, you stop losing them, and when mail has a bin, paper does not pile. If you find clutter keeps creeping back, how to stop an entryway from becoming a dumping ground gives routines that help.
Step five: improve the light and the floor
Once the basics work, improve how the space feels. Rental lighting is often a single harsh fixture. Swap the bulb for a warm one, around 2700K, and add a plug-in lamp or wall sconce. A plug-in sconce hangs from a hook and uses a standard outlet.
Do not replace a hard-wired fixture or switch yourself in a rental. Electrical changes belong to the landlord and a licensed electrician, and never work on a live circuit.
For floors, a washable, low-profile runner or mat with a rug pad hides wear and catches dirt. A runner 24 to 30 inches (60 to 75 cm) wide fits most hallways. Make sure the door clears it and the edges do not create a trip hazard. Check that the pad is compatible with your flooring, since some rubber backings can stain vinyl or finished wood.
Step six: add a mirror and a bit of decor
Decor comes last, but it matters. A large mirror leaned against the wall or hung on an approved hook bounces light and makes a small entry feel larger. A mirror at least 24 by 36 inches (60 by 90 cm) is a good size. Add one lamp, a plant or a branch in a vase, and a single piece of art. Keep colors to two or three, and leave empty space on surfaces.
If you want to go further, what makes an entryway look more expensive without a big budget lists low-cost finishing touches. Removable wallpaper and peel-and-stick tile can change the look dramatically, but test them on a small hidden spot, and ask first. Older paint, especially in buildings from before 1978, may contain lead, so do not scrape, sand or steam it, and ask your landlord about disclosures or testing.
Plan for move-out from the start. Keep the original hardware, boxes for any fixtures you swap, and photos of the finished entry. If you used adhesive products, remove them slowly following the package directions, and warm stubborn residue gently with a hair dryer on low heat before peeling. Fill small nail holes with spackle if the lease expects it, and touch up with the original paint color if you have it. Many deposit disputes come from small marks, so a short walk-through with your phone camera a week before moving out is worth the ten minutes.
What to leave to the landlord or a professional
Some things are not renter projects, even if they are tempting:
- Hard-wired lights, switches, outlets and doorbells
- Drilling into tile, masonry or any wall where you do not know what is behind it
- Changing locks, unless allowed by the lease and local law
- Anything that involves peeling or flaking paint in an older building
- Sticking doors, loose railings or water damage
Report these in writing. In a rental, repairs are usually the landlord’s responsibility, though that depends on your lease and local law. If you pay for an approved improvement, keep receipts and the approval in your records.
A starter plan, in order
A basic functional entry for a renter often looks like this, and nearly all of it moves with you:
- Hooks or a rail
- A boot tray and a rack or cabinet
- A key tray and mail sorter
- A lamp and a warm bulb
- A runner and rug pad
- A mirror
If the budget is tight, do steps one to four first and add the rest over time. What renter-friendly entryway upgrades actually help goes deeper on which products hold up and which fail.
To tick through the no-drill fixes, use the renter entryway checklist.
Where this comes from
This article draws on the U.S. Environmental Protection Agency’s guidance on lead-based paint in homes built before 1978 and landlord disclosure, general tenant-rights information that varies by state and city, and manufacturers’ general directions for removable adhesive products. It was reviewed on 2026-10-07 against those sources. Prices, product ratings and local rules change, so check current figures with the maker, your landlord or the named agency before you buy or build.